









How to Inject Oil-Based Steroids Safely: Beginner’s Intramuscular Injection Guide

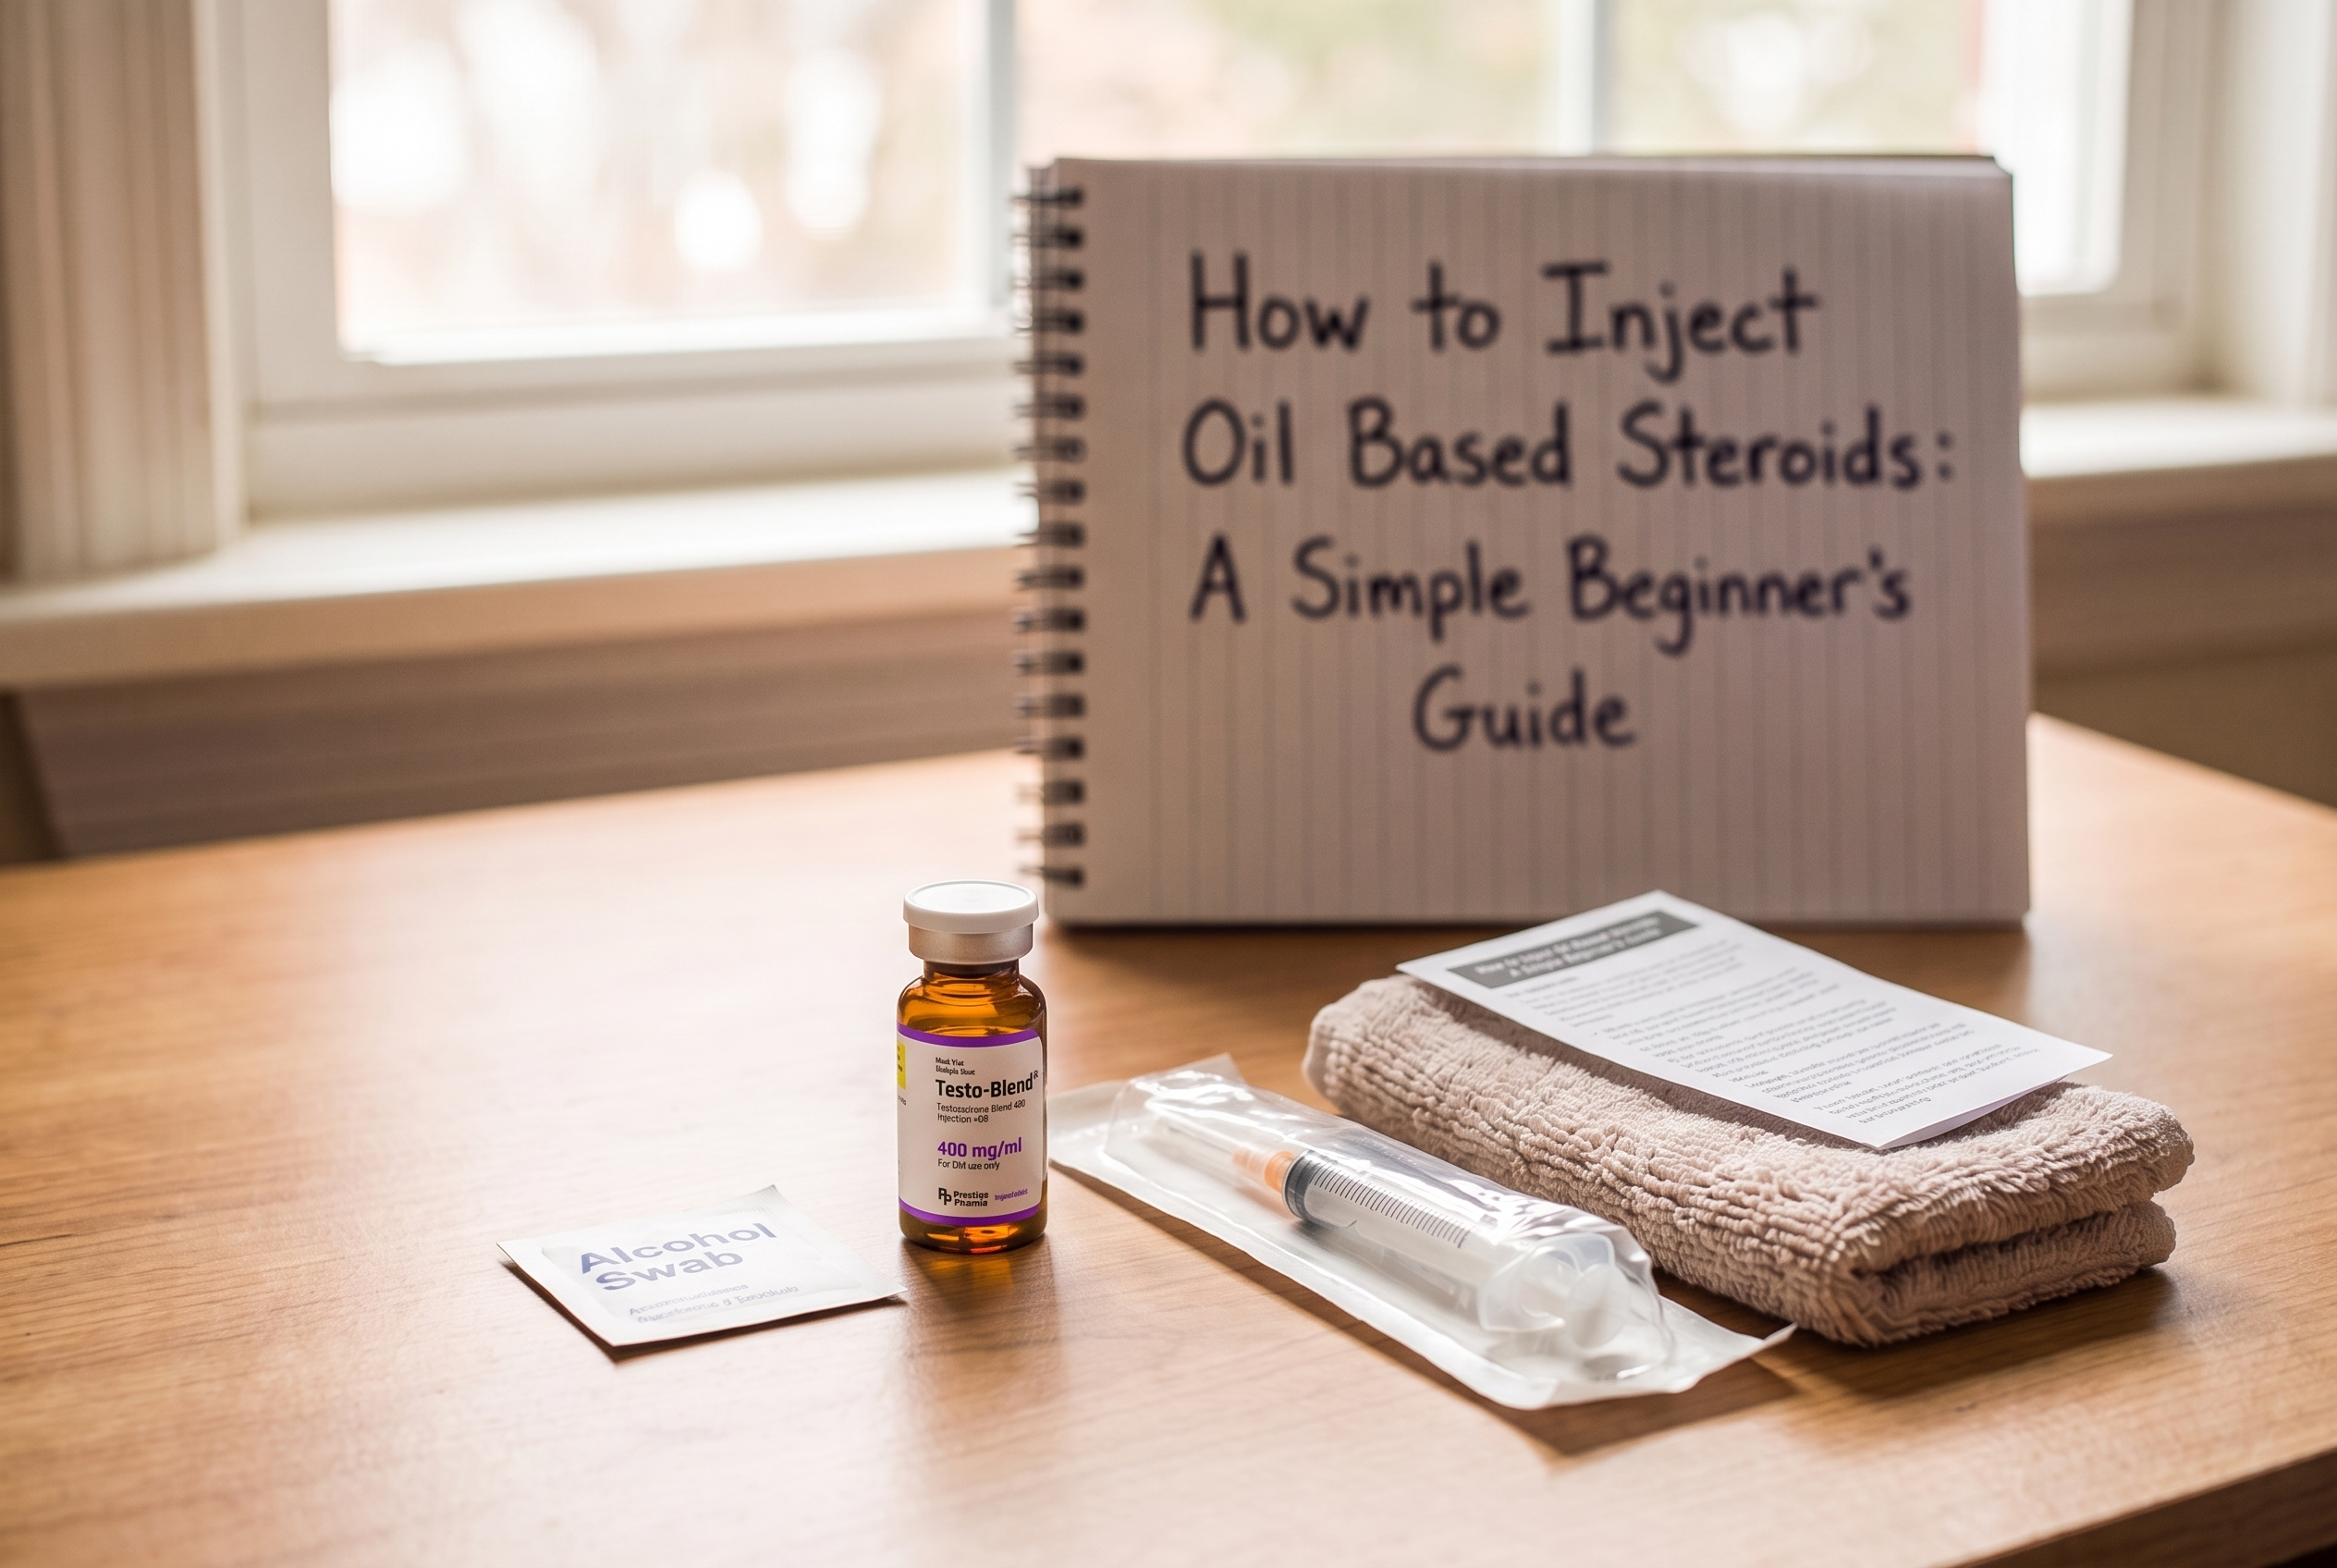
A simple beginners guide.
When you first look at an oil-based injection setup, it can feel like you’re staring at a mini science project.
You’ve got the vial, the syringe, the needles, the little measurement lines… and somehow you’re meant to know exactly what to do with all of it.
The good news? Once you understand the basics, it becomes a lot less confusing.
This guide breaks down:
- mg, mL and mg/mL
- How to calculate how much oil to draw
- How to read a syringe properly
- Needle gauges, colours and lengths
- How quad and glute intramuscular injections are usually performed
- Aftercare, site rotation and warning signs
Important: this guide is for educational harm-reduction purposes only. It does not tell you what dose to use, what compound to take, or whether you should use anabolic steroids.
Only inject a product that is sterile, correctly labelled, specifically manufactured for injection, and supplied through a legitimate medical route.
Understanding mg, mL and mg/mL
This is the bit you need to understand before anything else.
A syringe does not measure milligrams. It measures liquid volume.
Here’s the simple version:
- mg = milligrams of the active compound
- mL = millilitres of liquid
- mg/mL = how many milligrams are in each millilitre
- 1 cc = 1 mL
So when a vial says 250 mg/mL, that means every 1 mL of oil contains 250 mg of the active compound.
The concentration should be printed clearly on the vial.
How to Calculate mg to mL
Use this formula:
Specified amount in mg ÷ concentration in mg/mL = volume to draw in mL
For example:
125 mg ÷ 250 mg/mL = 0.5 mL
So if the vial is 250 mg/mL and the specified amount is 125 mg, you would draw 0.5 mL into the syringe.
Simple once it clicks.
Quick mg to mL Examples
| Vial Concentration | Specified Amount | Volume to Draw |
|---|---|---|
| 100 mg/mL | 50 mg | 0.5 mL |
| 100 mg/mL | 75 mg | 0.75 mL |
| 200 mg/mL | 100 mg | 0.5 mL |
| 250 mg/mL | 125 mg | 0.5 mL |
| 250 mg/mL | 200 mg | 0.8 mL |
The compound name does not decide how much oil goes into the syringe.
- One testosterone product may be supplied at 100 mg/mL
- Another testosterone product may be supplied at 250 mg/mL
- The calculation must always be based on the concentration printed on the vial
Never guess. Never assume two products or brands have the same concentration.
How to Read a Syringe Correctly
A syringe has four main parts:
- The tip, where the needle connects
- The clear barrel, with measurement markings
- The plunger
- The black rubber stopper attached to the plunger
You read the measurement from the front edge of the rubber stopper — the edge closest to the needle.
- Not the back of the stopper
- Not the middle of the stopper
- The front edge
Also, don’t assume every tiny line is 0.1 mL. Syringes can use different scales.
For example, if the space between 0.4 mL and 0.5 mL has five smaller spaces:
0.1 ÷ 5 = 0.02 mL per small line
- A 1 mL syringe is usually easier to read for smaller volumes
- A 3 mL syringe can hold more oil, but the markings may be further apart
- A Luer lock syringe is useful because the needle twists securely into place
Needle Gauges, Colours and Lengths
Needle gauge means needle thickness.
The numbers work backwards:
- Lower gauge number = thicker needle
- Higher gauge number = thinner needle
So an 18G needle is much thicker than a 25G needle.
| Gauge | Common Colour | Common Use |
|---|---|---|
| 18G | Pink | Drawing thick oil |
| 20G | Yellow | Drawing oil |
| 21G | Green | Drawing oil or some intramuscular use |
| 22G | Black | Intramuscular injection |
| 23G | Blue | Intramuscular injection |
| 25G | Orange | Finer, slower intramuscular injection |
Needle colours can vary between manufacturers, so always check the gauge and length printed on the packet, not just the colour.
- A thicker needle can make it easier to draw oil from the vial
- A fresh sterile 23G or 25G needle is commonly used for the injection itself
- A 25G needle is finer, but oil moves through it more slowly
- A 23G needle usually allows oil to flow more easily, but it is slightly thicker
Needle length is separate from gauge. The injection needle must be long enough to pass through the skin and fatty tissue and reach the muscle.
What You Need Before You Start
Set everything up on a clean, well-lit surface.
You’ll need:
- The vial
- A new sterile syringe
- A sterile drawing needle
- A fresh sterile injection needle
- Alcohol swabs
- Clean gauze
- A puncture-resistant sharps container
Before anything else, wash and dry your hands properly.
Then check the vial:
- Correct product name
- Correct concentration
- Expiry date
- Seal condition
- Liquid appearance
Do not use a vial if it is:
- Cracked
- Leaking
- Expired
- Unusually cloudy
- Visibly contaminated
- Not clearly labelled
Needles and syringes are single-use sterile items. They should not be reused or shared.
How to Draw Oil from a Vial
Oil is thicker than water-based liquids, so don’t rush this part.
- Clean the rubber stopper with an alcohol swab.
- Let it air dry fully.
- Attach the drawing needle securely to the syringe.
- Pull air into the syringe equal to the amount of oil you plan to withdraw.
- Insert the needle through the centre of the rubber stopper.
- Push the air into the vial.
- Turn the vial and syringe upside down.
- Keep the needle tip below the surface of the oil.
- Pull the plunger back slowly.
- Tap the syringe gently so air bubbles rise.
- Push excess air and oil back into the vial until the correct measurement remains.
- Remove the drawing needle and place it into the sharps container.
- Attach a fresh sterile injection needle.
- Hold the syringe upright with the needle pointing up.
- Press the plunger gently until the air is removed and a tiny bead of oil appears at the needle tip.
Slow is smooth. Smooth is better.
How to Self-Inject into the Quad
The quad injection site is the vastus lateralis, which sits on the outer side of the thigh.
To locate it:
- Sit down with the leg supported and relaxed
- Mentally divide the distance between the hip and knee into three sections
- The target area is the outer part of the middle section
Avoid injecting into:
- The inner thigh
- The area directly above the knee
- Visible blood vessels
- Bruises or scars
- Existing hard lumps
- Skin that is red, hot, swollen, infected or broken
The quad is one of the easiest intramuscular injection sites to see and reach when self-administering.
The trade-off is that some people find quad injections can feel more sore afterwards compared with glute injections.
Quad Self-Administration Video
Watch: How to Self Administer Your TRT and HRT Injections
Video link:
https://www.youtube.com/watch?v=5_7DzdpvY3E
The demonstration shows the individual locating, cleaning and injecting their own outer thigh.
How to Self-Inject into the Glute
For self-administration, the ventrogluteal area — towards the side of the hip — is usually easier to reach than the centre of the rear buttock.
Correct positioning matters here.
Do not just aim for the middle of the buttock.
The traditional rear glute site is usually in the upper outer part of the buttock, but twisting around to reach it can make the syringe harder to control.
Incorrect placement can also bring the needle closer to the sciatic nerve, which is something you really want to avoid.
Glute Self-Administration Video
Watch: Self Administering a Ventrogluteal Intramuscular Injection
Video link:
https://www.youtube.com/watch?v=mGnccNDY-pY
The demonstration shows the individual locating and injecting their own ventrogluteal muscle.
Cleaning and Performing the Injection
Before injecting, inspect the area for:
- Redness
- Swelling
- Bruising
- Hard lumps
- Broken skin
- Heat or signs of infection
Then follow these steps:
- Clean the area using a fresh alcohol swab.
- Let the skin air dry completely.
- Relax the muscle.
- Remove the needle cap without touching the needle.
- Hold the syringe firmly.
- Insert the needle straight into the muscle at a 90-degree angle.
- Keep the syringe and needle steady.
- Press the plunger slowly and consistently.
- Once the syringe is empty, pause briefly.
- Withdraw the needle straight out.
- Apply gentle pressure with clean gauze.
Do not move the needle from side to side while it is inside the muscle.
Do not aggressively rub or massage the injection area afterwards.
What About Aspiration?
Aspiration means gently pulling back on the plunger before injecting.
Some intramuscular injection protocols include it, while others do not.
Follow the instructions associated with the specific product, injection site and technique you have been taught.
Aftercare and Sharps Disposal
Place the used needle and syringe directly into a puncture-resistant sharps container.
Never:
- Reuse needles or syringes
- Share needles or syringes
- Leave used needles lying around
- Bend or break a used needle
- Put an exposed needle loose into household rubbish
Used sharps should go into a proper sharps container, not loose into normal waste.
Rotate Injection Sites
Don’t keep hitting the same site again and again.
A basic injection site rotation could look like this:
- Left quad
- Right quad
- Left ventrogluteal area
- Right ventrogluteal area
Site rotation helps reduce repeated irritation, soreness and hard lumps in one area.
Normal Soreness vs Warning Signs
Mild soreness, tenderness or a small bruise can happen after an intramuscular injection.
But some symptoms are not something to brush off.
Seek medical advice if you notice:
- Pain that keeps getting worse
- Spreading redness
- Heat or swelling around the area
- Pus or unusual discharge
- Fever
- Feeling generally unwell
- A hard, painful lump that continues to enlarge
Seek urgent medical help for:
- Severe numbness
- Weakness
- Electric shock-like pain travelling down the leg
- Uncontrolled bleeding
- Fainting
- Chest pain
- Facial or throat swelling
- Difficulty breathing
Final Thoughts
Oil-based intramuscular injections can look intimidating at first, but the basics come down to a few key things:
- Understand mg, mL and mg/mL
- Read the syringe correctly
- Use the right needle gauge and length
- Keep everything sterile
- Choose the correct injection site
- Inject slowly and steadily
- Dispose of sharps properly
- Rotate sites
- Know the warning signs
The most important rule?
Don’t guess.
Check the vial, check the concentration, check your equipment, and follow proper medical guidance.
A few extra minutes of care is always better than rushing and making a mistake.
Frequently Asked Questions
How do you calculate mg to mL for oil-based injections?
Use this formula:
Specified amount in mg ÷ concentration in mg/mL = volume to draw in mL
For example, if a vial is 250 mg/mL and the specified amount is 125 mg, the calculation is:
125 ÷ 250 = 0.5 mL
Is 1 cc the same as 1 mL?
Yes. 1 cc is the same volume as 1 mL.
What needle gauge is commonly used for oil-based injections?
A thicker needle, such as 18G to 21G, may be used to draw oil from the vial.
A fresh sterile 23G or 25G needle is often used for the injection itself, depending on the product, site and individual suitability.
Can you use the same needle to draw and inject?
A fresh sterile needle should be used for the injection.
Drawing through the vial stopper can dull or contaminate the needle, so many people use a separate drawing needle and then switch to a fresh injection needle.
Where is the quad injection site?
The quad intramuscular injection site is usually the vastus lateralis.
This is located on the outer side of the thigh, around the middle third between the hip and knee.
Where is the glute injection site?
For self-administration, the ventrogluteal site toward the side of the hip is often easier to reach and control than the centre of the rear buttock.
Should oil-based injections be done quickly?
No. Oil is thicker than water-based liquid, so both drawing and injecting should be done slowly and steadily.
What should you do with used needles?
Used needles and syringes should go directly into a proper sharps container.
They should not be reused, shared, bent, broken or thrown loose into household rubbish.
For more educational resources and product information, visit PrestigePharmaceuticals.com or contact [email protected].
Steroid Cycle
HOW TO GUIDES






 Deca
Deca Anadrol